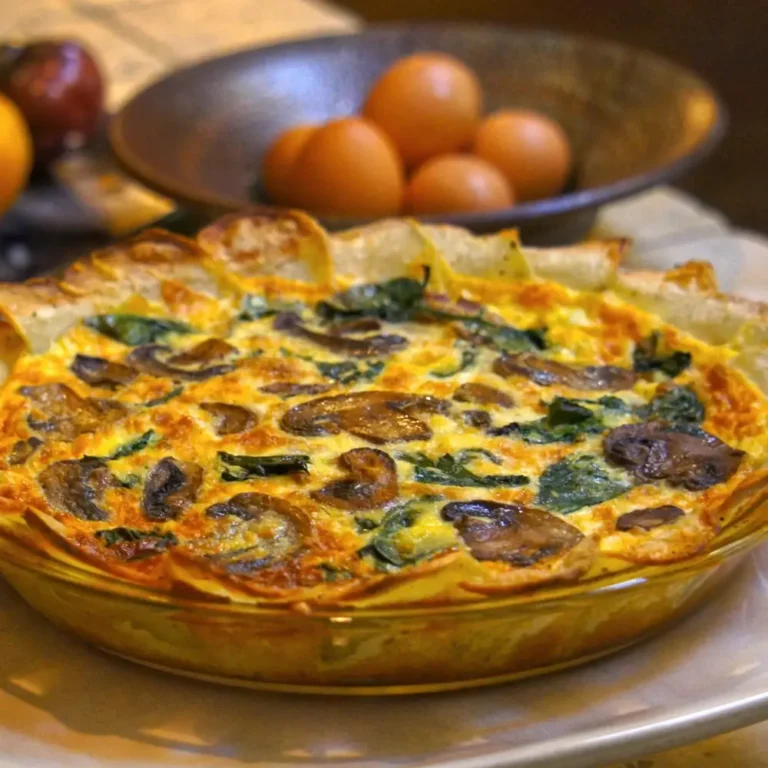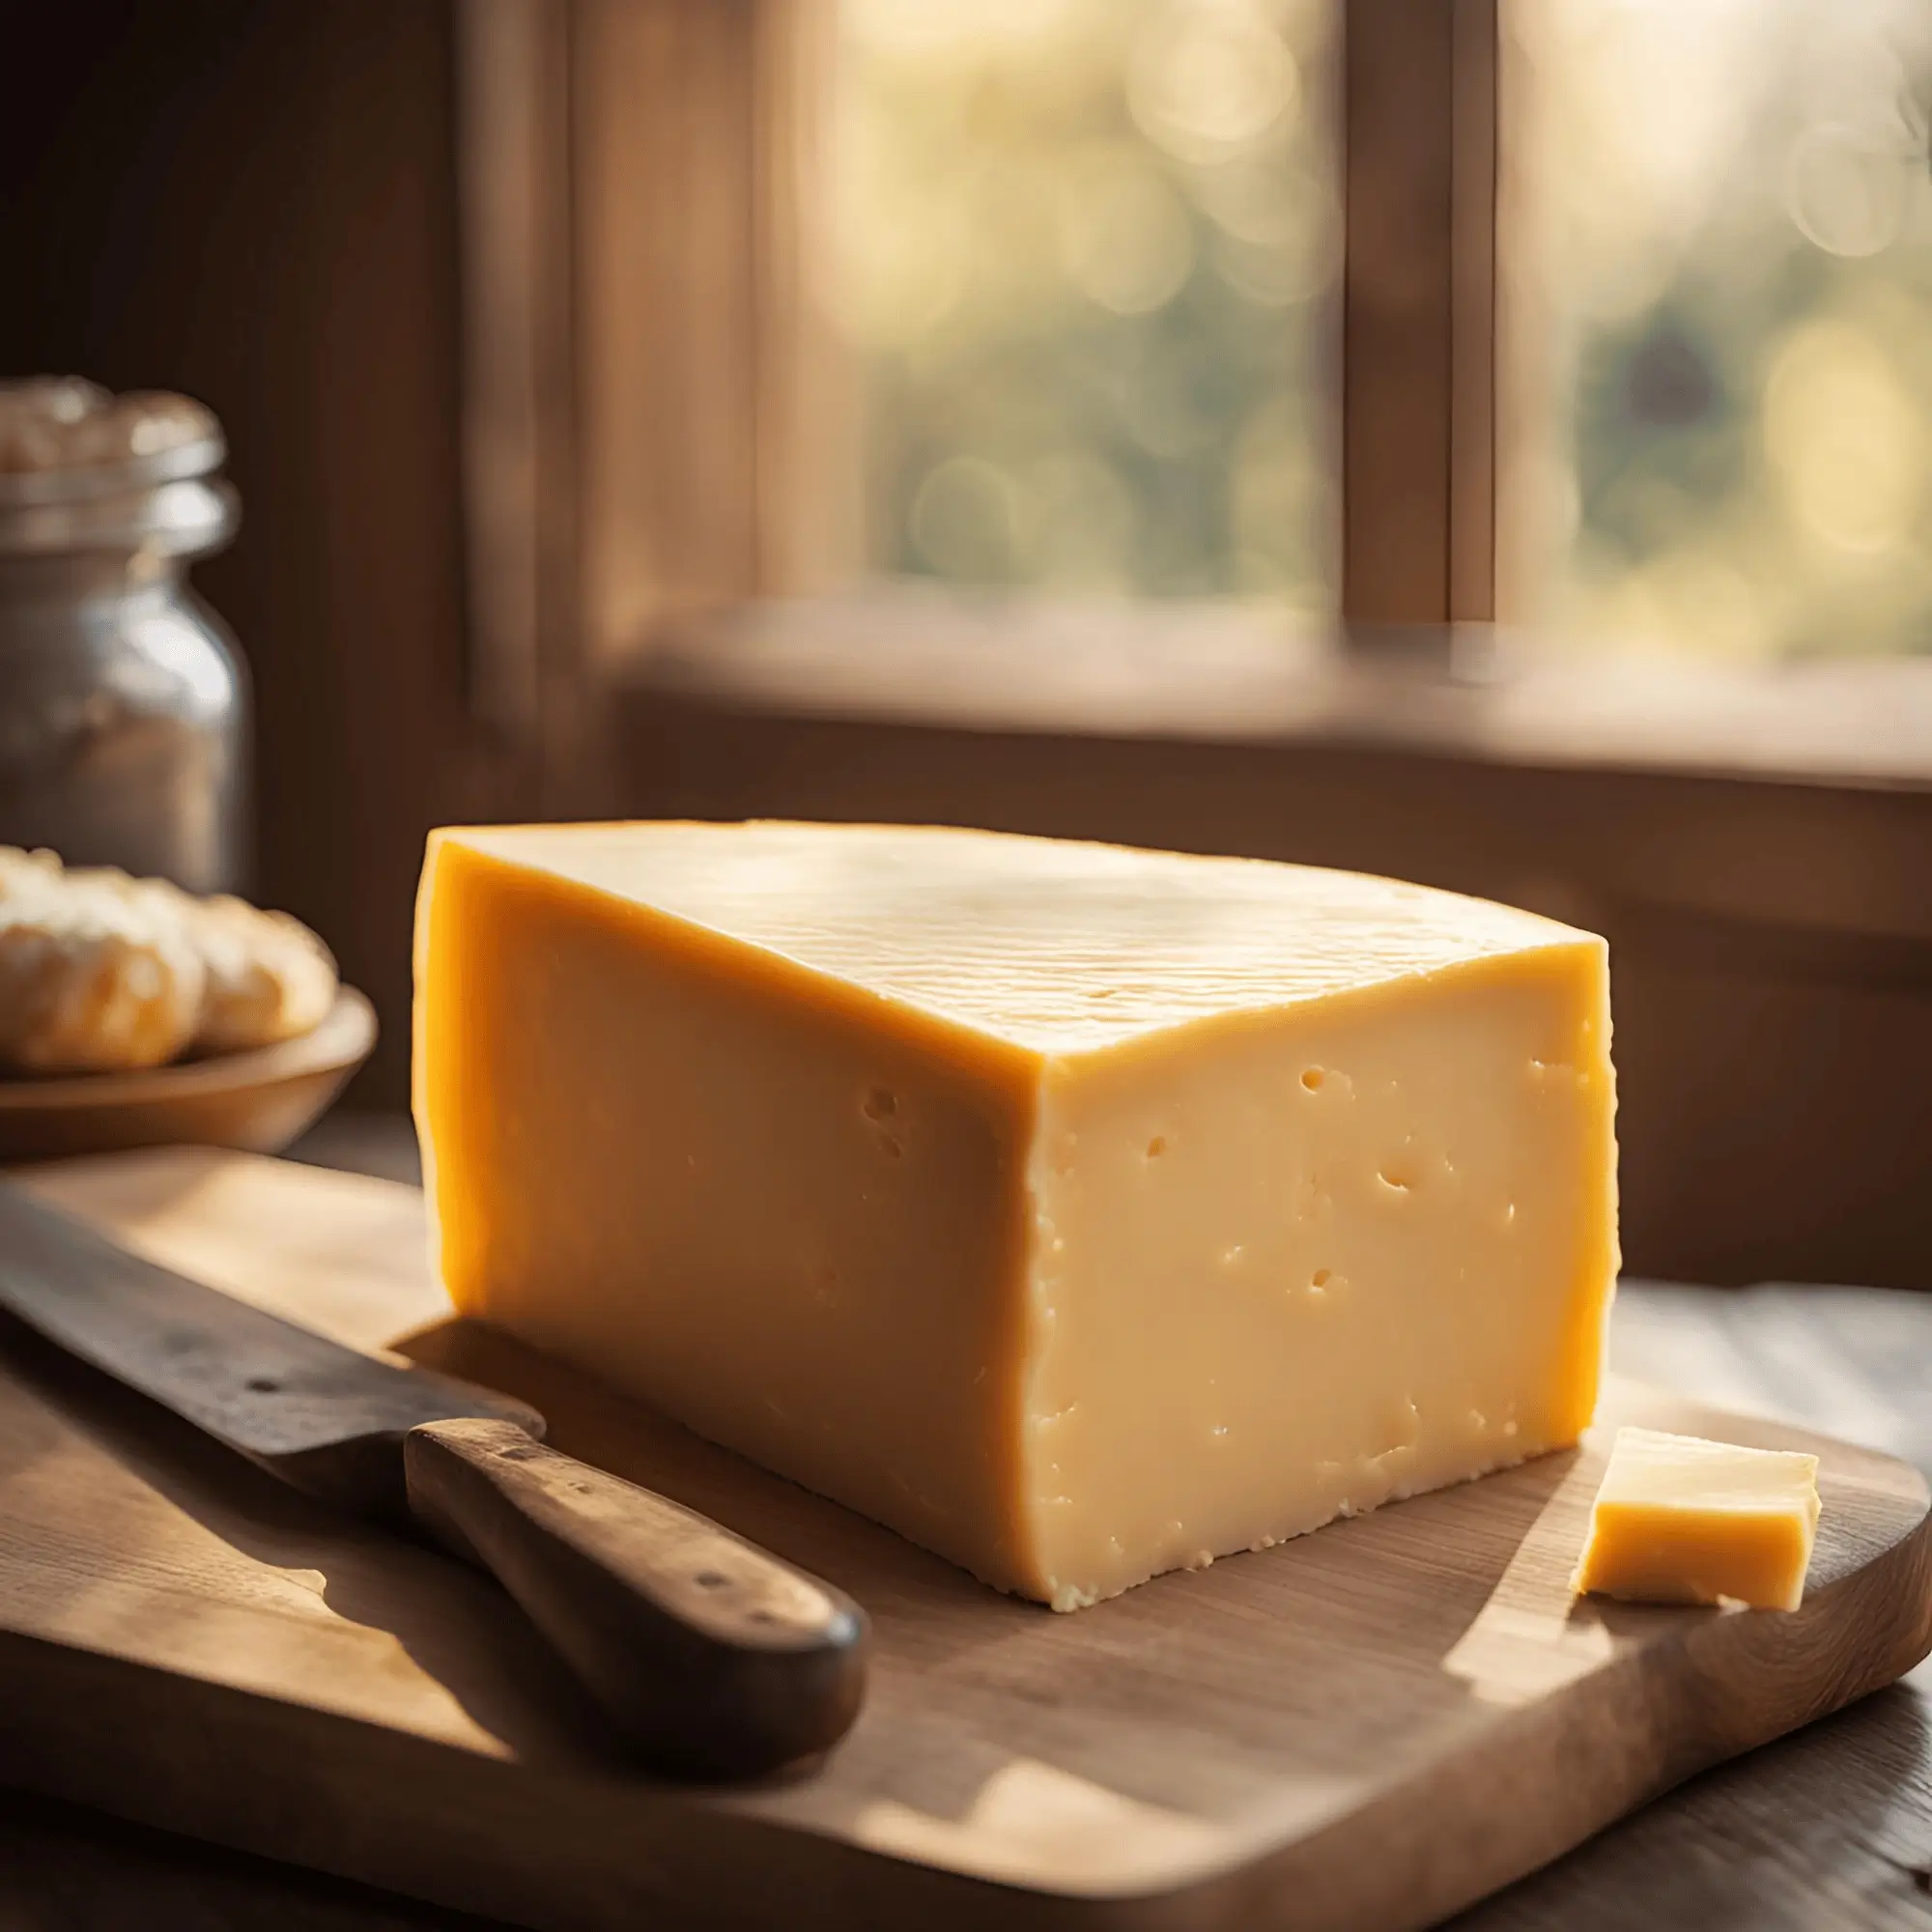
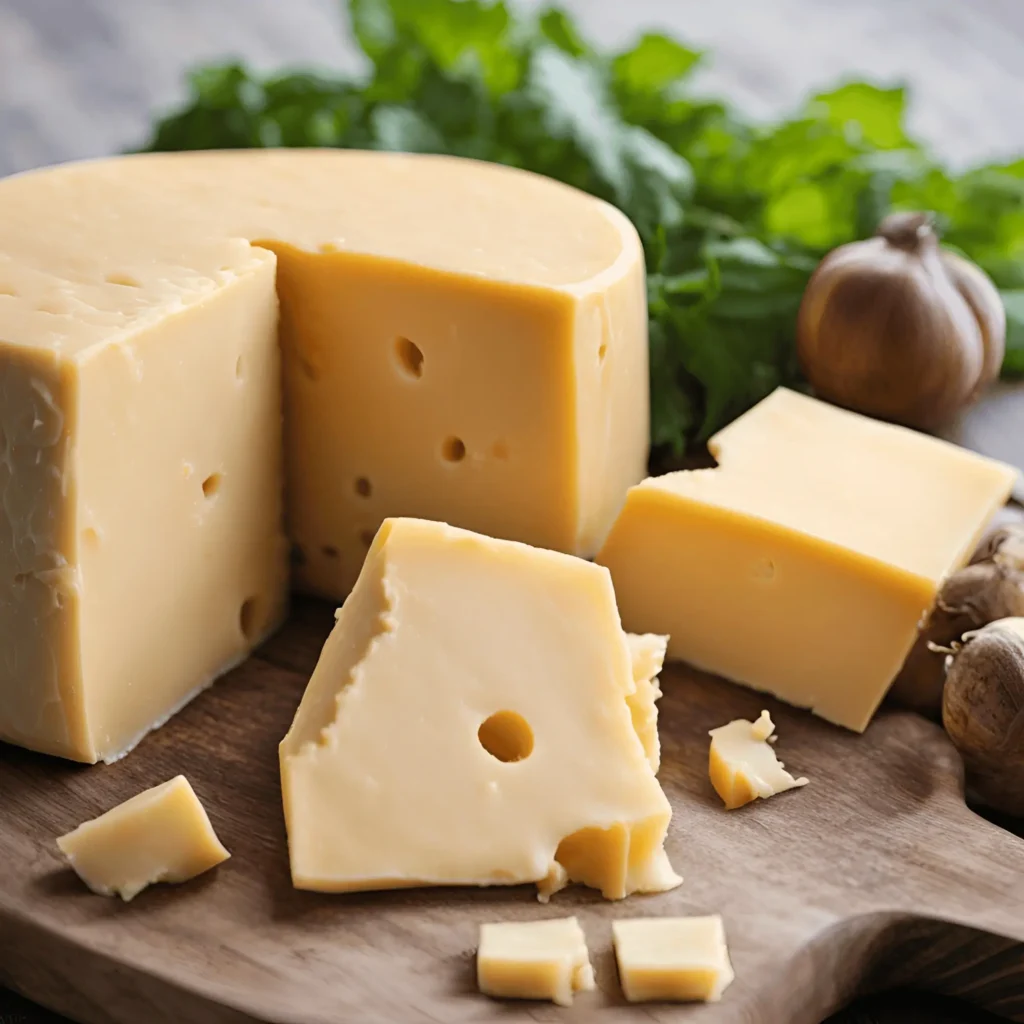
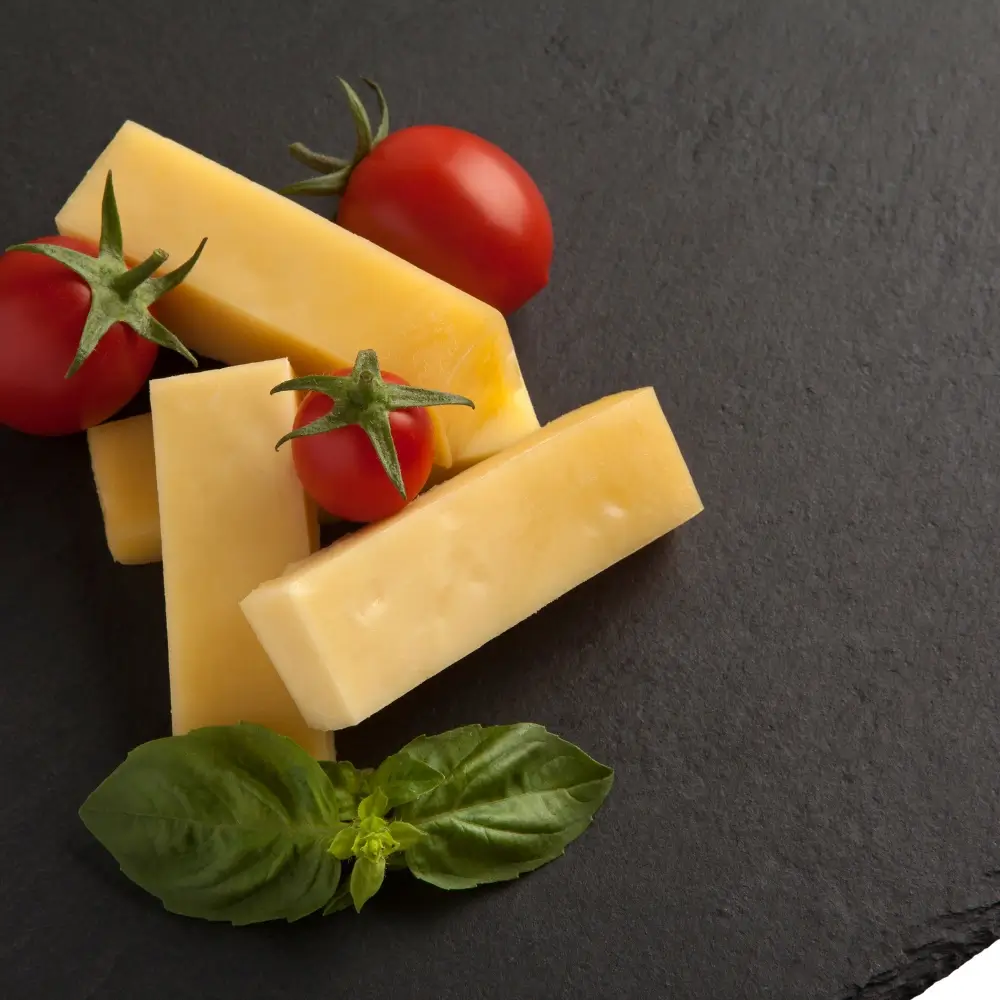
Homemade Cheddar Cheese
Presentation
The Homemade Cheddar Cheese: Have you ever wondered how to transform simple ingredients like milk into a rich, flavorful block of cheddar? The process might seem complex, but with the right steps, you can create your own delicious cheese right in your kitchen. This guide will walk you through each stage, from heating the milk to aging the final product.
Making cheese at home requires precision, especially when it comes to temperature control. Whether you use raw or pasteurized milk, the quality of your ingredients plays a crucial role in the outcome. This article will help you understand the importance of each step, including cutting the curds, stirring, and pressing them into shape.
By following this recipe, you’ll learn how to achieve consistent results every time. Let’s dive into the art of cheesemaking and discover how you can craft a high-quality product that’s perfect for your table.
Key Takeaways
- Learn the step-by-step process of making cheese from scratch.
- Understand the importance of temperature control in cheesemaking.
- Discover the differences between using raw and pasteurized milk.
- Master techniques like curd cutting, stirring, and pressing.
- Create a delicious and consistent cheese product at home.
Table of Contents
Introduction
Cheddar cheese has a rich history, rooted in traditional farmhouse methods. Originating in the English village of Cheddar in the 12th century, this cheese quickly gained popularity for its distinct flavor and texture. Over time, the methods of production have evolved, but the core principles remain the same.
Background of Cheddar Cheese Making
Traditional farmhouse methods relied on simple tools and natural ingredients. Farmers used fresh milk, often from their own cows, and allowed it to curdle naturally. The process involved cutting the curd, draining the whey, and pressing the curds into molds. This hands-on approach ensured a high-quality product.
Culture plays a vital role in cheesemaking. It introduces beneficial bacteria that acidify the milk, helping it thicken and develop flavor. Rennet, an enzyme, is added to separate the curd from the whey. These steps are essential for creating the signature texture of cheddar.
Quality milk is the foundation of great cheese. Whether you use raw or pasteurized milk, its freshness and purity matter. Proper temperature control is also crucial. Heating the milk too quickly or too slowly can affect the final product.
Here are some key terms to understand:
- Curd: The solid part of milk that forms when it coagulates.
- Whey: The liquid left after the curd is separated.
- Rennet: An enzyme used to coagulate milk and separate curds from whey.
In the next sections, you’ll learn how to apply these principles at home. From heating the milk to pressing the curds, each step is designed to help you achieve consistent results. Let’s dive into the process and create something truly special.
Ingredients, Equipment, and Preparation
The foundation of any great cheese lies in the quality of its components and the precision of its preparation. Before diving into the process, it’s essential to gather the right tools and ingredients. This ensures a smooth workflow and consistent results.
Essential Tools and Ingredients
To make cheese, you’ll need a few key items. Start with high-quality milk, as it’s the base of your recipe. Fresh, unprocessed milk works best, but pasteurized options are also suitable. Next, you’ll need rennet, an enzyme that helps separate the curd from the whey. Liquid rennet is often preferred for its ease of use.
Salt is another crucial ingredient. It enhances flavor and helps preserve the final product. Additionally, starter cultures are essential for acidifying the milk and developing the cheese’s unique taste. Choose cultures specifically designed for the type of cheese you’re making.
When it comes to equipment, a large pot is a must. It should be non-reactive, like stainless steel, to avoid altering the milk’s flavor. A thermometer is also critical for monitoring temperature, which plays a vital role in the process. Other tools include a long knife for cutting the curd, cheesecloth for draining, and a press for shaping the final product.
“The right tools and ingredients are the backbone of successful cheesemaking. Without them, achieving the desired texture and flavor becomes a challenge.”
Preparation is just as important as the ingredients and tools. Start by cleaning your workspace thoroughly. Any contamination can affect the outcome. Measure your ingredients carefully and ensure your equipment is ready to use. This attention to detail will make the process smoother and more enjoyable.
Here’s a quick checklist to get started:
- High-quality milk (1 gallon or more)
- Liquid rennet
- Starter cultures
- Non-iodized salt
- Large stainless steel pot
- Thermometer
- Long knife and cheesecloth
- Cheese press
With everything in place, you’re ready to begin. Remember, patience and precision are key to crafting a delicious and consistent cheese.
Heating, Acidifying, and Culturing the Milk
Mastering the art of cheesemaking starts with heating and culturing the milk correctly. This step is crucial for setting the foundation for curd formation. Proper temperature control and the addition of starter culture ensure the milk acidifies evenly, leading to a consistent texture and flavor.
Temperature Control Techniques
To begin, heat the milk slowly in a large pot using a stable water bath. This method prevents scorching and ensures even heating. The goal is to reach and maintain an exact temperature of 86°F. Use a thermometer to monitor the process closely.
Stir the milk gently while heating to distribute the heat evenly. Rapid temperature changes can affect the milk’s structure, so patience is key. Once the milk reaches 86°F, remove it from the heat and let it rest for a moment.
Role of Starter Culture
Next, add the starter culture to the milk. Sprinkle it evenly over the surface and let it rehydrate for about 2 minutes. This step prevents clumping and ensures the culture is fully activated. Afterward, stir the mixture gently to distribute the culture throughout the milk.
The starter culture plays a vital role in converting lactose into lactic acid. This acidification process is essential for curd formation and flavor development. Maintain the temperature at 86°F for optimal culture activity.
Proper timing and temperature control are critical during this stage. Deviating from the recommended guidelines can lead to inconsistent results. By following these steps, you’ll set the stage for a successful cheesemaking process.
Curd Formation and Cutting Techniques
Curd formation is the heart of crafting a perfect block of cheese. After adding rennet to the milk, it begins to coagulate, forming a gel-like consistency. This process typically takes about 45 minutes. Patience is key here, as rushing can lead to uneven curds.
Identifying a Clean Break
To test if the curd is ready, gently press it with your finger. If it breaks cleanly and leaves a clear separation, it’s set. This is called a “clean break.” If the curd is too soft, let it rest longer. Proper coagulation ensures the curds hold their shape during cutting.
Cutting the curd is a critical step. Use a long knife to make vertical and horizontal cuts, creating evenly sized pieces. The size of the curds affects the cheese’s moisture and texture. Smaller curds release more whey, resulting in a firmer cheese. Larger curds retain more moisture, creating a softer product.
| Curd Size | Moisture Level | Texture |
|---|---|---|
| Small (1/4 inch) | Low | Firm |
| Medium (1/2 inch) | Moderate | Semi-soft |
| Large (3/4 inch) | High | Soft |
Accuracy during this phase is crucial. Uneven curds can lead to inconsistent texture and flavor in the final product. Take your time to ensure each piece is uniform. This attention to detail will pay off in the quality of your cheese.
Once the curds are cut, they’re ready for the next step: cooking and releasing whey. Properly formed curds set the stage for a successful cheesemaking process. Remember, precision here ensures a delicious and consistent result.
Cooking the Curds and Releasing Whey
The next step in creating a delicious block of cheese involves cooking the curds and releasing whey. This process is crucial for achieving the right texture and moisture level. Proper technique ensures the curds firm up without losing their delicate structure.
Slow Heating Process
Start by slowly increasing the temperature of the curds in the pot. Aim to raise it by 2°F every 5 minutes until it reaches 102°F. This gradual approach prevents the curds from breaking apart. Stir gently to avoid disrupting their shape while ensuring even heating.
Maintaining a steady temperature is key. Use a thermometer to monitor the heat closely. Rapid changes can lead to uneven results. The slow heating process helps release whey gradually, which is essential for the final texture.
Consistency Testing of Curds
Once the curds reach 102°F, test their firmness. The “grip test” is a reliable method. Take a small piece of curd and press it between your fingers. If it holds its shape and springs back slightly, it’s ready. If it feels too soft, continue cooking for a few more minutes.
Proper consistency ensures the cheese will have the desired texture. Overcooking can make the curds too dry, while undercooking leaves them too moist. Pay close attention to this step for the best results.
“The slow heating process is where patience pays off. It’s the foundation for a perfectly textured cheese.”
By following these steps, you’ll ensure the curds are cooked evenly and ready for the next stage. Precision here makes all the difference in the final product.
Homemade Cheddar Cheese Draining, Cheddaring, and Salting
The journey to perfect cheese continues with draining, cheddaring, and salting. These steps are vital for achieving the right texture and flavor. Each process requires precision to ensure the curds develop properly.
Techniques for Effective Cheddaring
Start by transferring the curds to a double-pan system or colander lined with cheesecloth. This setup allows the whey to drain efficiently. Break up any clumps gently to ensure consistent drainage. The goal is to remove excess moisture without damaging the curds.
Next, begin the cheddaring process. Stack the curds in layers, turning them every 15 minutes. Add weight to press out additional whey. This method helps the curds knit together, creating a firm structure. Repeat the stacking and pressing for about an hour.
Salting is the final step. Add salt in stages, mixing it evenly into the curds. This gradual approach forms a brine that gently extracts moisture. It also enhances flavor and acts as a natural preservative. Proper salting ensures a balanced taste and texture.
“Draining, cheddaring, and salting are the unsung heroes of cheesemaking. They transform simple curds into a masterpiece.”
These techniques are crucial for developing the correct texture and flavor profile. By following these steps, you’ll create a cheese that’s both delicious and consistent.
Pressing, Forming, and Preparing for Aging
Pressing and molding are the final steps before your cheese is ready for aging. This phase ensures the curds consolidate into a solid block, removing excess whey and shaping the final product. Proper technique here is crucial for achieving the right texture and density.
Optimal Pressing and Molding Tips
Start by placing the curds into a sanitized mold lined with a press cloth. This setup helps maintain cleanliness and prevents contamination. Begin with a light initial press, using about 20 lbs of weight. This gentle pressure allows the curds to knit together without losing their structure.
Gradually increase the pressure over the next 24 hours. After the first hour, raise the weight to 50 lbs, and then to 75 lbs. This stepwise approach ensures the curds consolidate evenly. Turning and rewrapping the cheese every few hours promotes uniform consolidation and prevents uneven spots.
“Pressing is where the magic happens. It transforms loose curds into a cohesive block, ready for aging.”
For optimal molding, ensure the cheese has a smooth surface and the correct shape. Use your hands to press the edges gently, removing any air pockets. A well-molded cheese will age more evenly and develop a consistent texture.
Before aging, check that nearly all free whey has been removed. The curds should feel firm and hold their shape. Properly pressed and molded cheese is now ready for the aging process, where it will develop its full flavor and character.
- Use a sanitized press cloth and mold for cleanliness.
- Start with 20 lbs of pressure, increasing to 50-75 lbs over 24 hours.
- Turn and rewrap the cheese every few hours for even consolidation.
- Ensure a smooth surface and correct shape during molding.
- Remove nearly all free whey before aging for best results.
Conclusion
Creating your own cheese is a rewarding process that combines precision and patience. From heating the milk to pressing the curds, each step plays a crucial role in achieving the desired texture and flavor. Temperature control is essential, especially during curd formation and cooking. Properly managing the curds ensures they release whey evenly, leading to a consistent result.
Pressing the curds is another critical step. It removes excess moisture and shapes the cheese for aging. Using the right amount of pressure helps the curds knit together, creating a firm and cohesive block. Adding salt enhances the taste and acts as a natural preservative.
With practice, you can perfect your cheese-making process. Experiment with different techniques to find what works best for you. The journey is as fulfilling as the result, offering a delicious and high-quality product to enjoy.

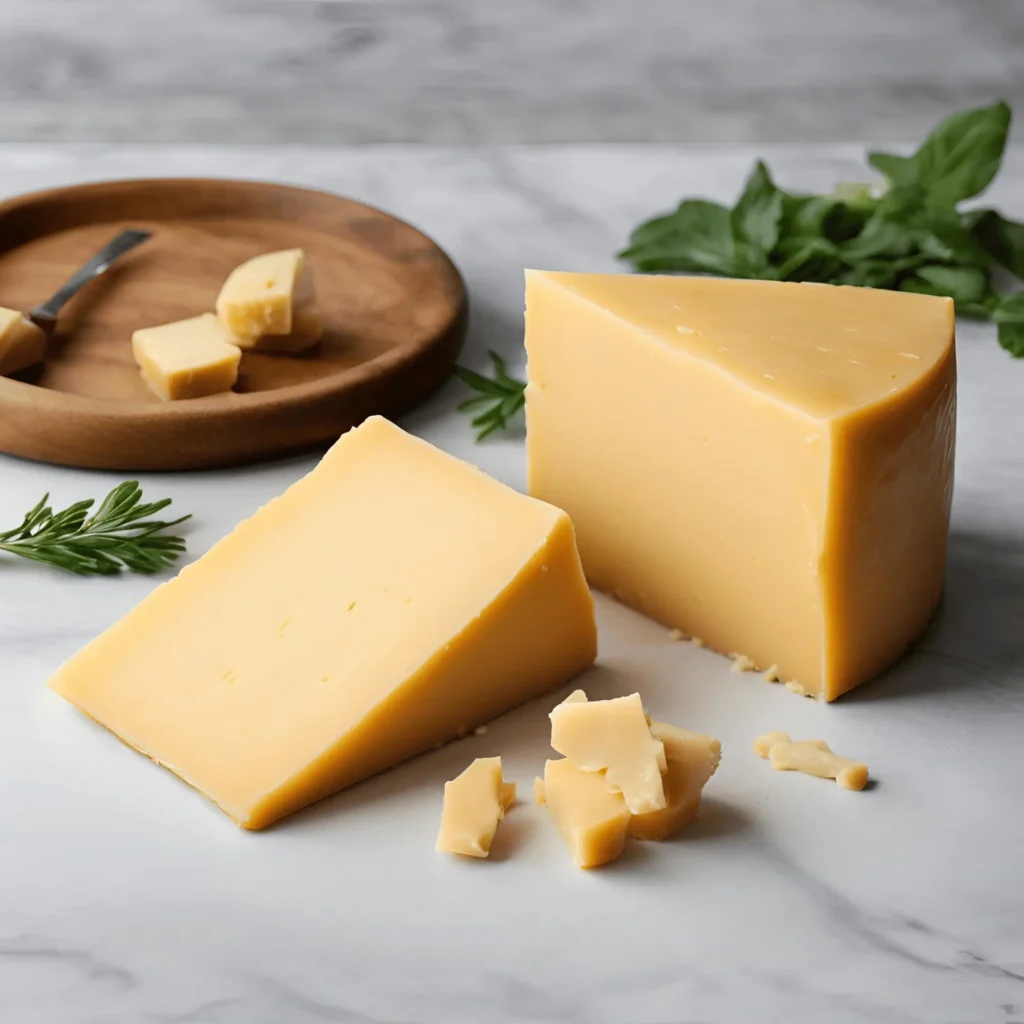
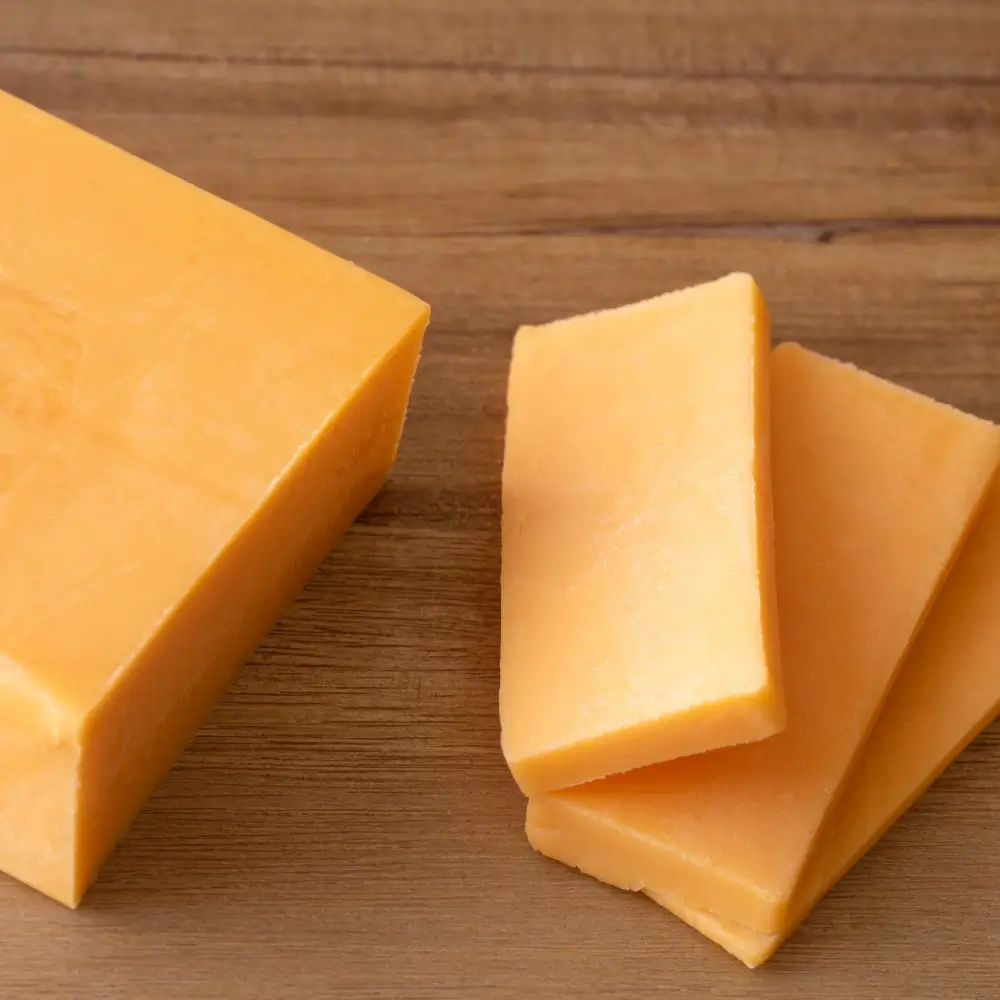
Homemade Cheddar Cheese
Ingredients
- 1 gallon whole milk (preferably raw milk)
- ¼ tablet or 1/4 teaspoon liquid rennet
- ¼ cup cool, non-chlorinated water
- ¼ cup white vinegar
- ¼ cup cheese salt (or non-iodized salt)
- ⅛ teaspoon annatto (optional, for color)
- Cheesecloth (for draining)
- A cheese mold and press (optional)
Instructions
- Heat the milk in a large pot over medium heat, stirring occasionally until it reaches 85°F (29°C).
- Dilute the rennet in the cool water and add it to the milk, stirring gently. Let the milk rest for 45 minutes to 1 hour until it sets into a firm curd.
- Cut the curd into small cubes (about 1/2 inch) and let them rest for 5 minutes.
- Gently heat the curds to 105°F (40°C), stirring occasionally. Once the curds have firmed up, remove the pot from the heat.
- Let the curds rest for 30 minutes, then gently stir in the vinegar and salt.
- Line a colander with cheesecloth and transfer the curds into it. Let the whey drain for about 10-15 minutes.
- Gather the cheesecloth and press the cheese into a mold. Apply light pressure to remove more whey. Let the cheese rest at room temperature for 6-12 hours, flipping occasionally.
- After resting, the cheese can be wrapped in plastic wrap and aged in the fridge for 3-6 months, depending on the desired sharpness.
Notes
FAQ
What equipment do I need to start making cheddar at home?
You’ll need a large pot, a thermometer, a cheese press, a curd knife, and cheesecloth. These tools help control temperature, cut curds, and shape the final product.
Why is temperature control important during the process?
Proper temperature ensures the milk cultures correctly and the curds form properly. It also affects the texture and flavor of the final product.
What is the role of starter culture in cheese making?
Starter culture introduces beneficial bacteria that acidify the milk, helping curds form and develop the desired flavor profile.
How do I know when the curds are ready to cut?
Perform a clean break test. If the curd splits cleanly when you insert a knife, it’s ready to cut into small pieces.
What is the purpose of cheddaring?
Cheddaring involves stacking and turning curds to expel whey and develop a firm texture. It’s a key step in creating the signature consistency of cheddar.
How long should I press the cheese?
Pressing times vary, but typically, you’ll press for 12-24 hours. The duration depends on the desired firmness and moisture content.
Can I use store-bought milk for this process?
Yes, but choose high-quality, pasteurized milk. Avoid ultra-pasteurized milk, as it may not form curds properly.
How do I store the finished product?
Wrap it in wax paper or cheese wrap and store it in a cool, humid environment. Aging can take several weeks to months, depending on the flavor you want.