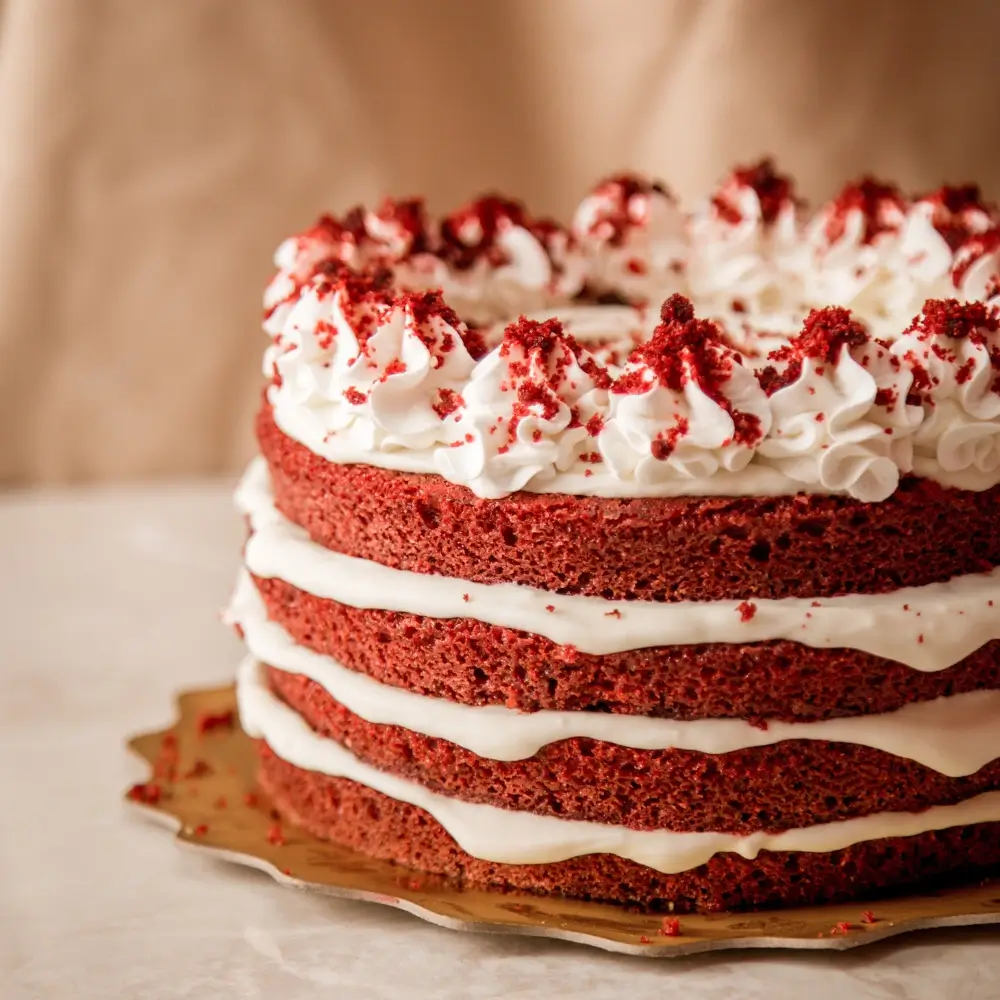
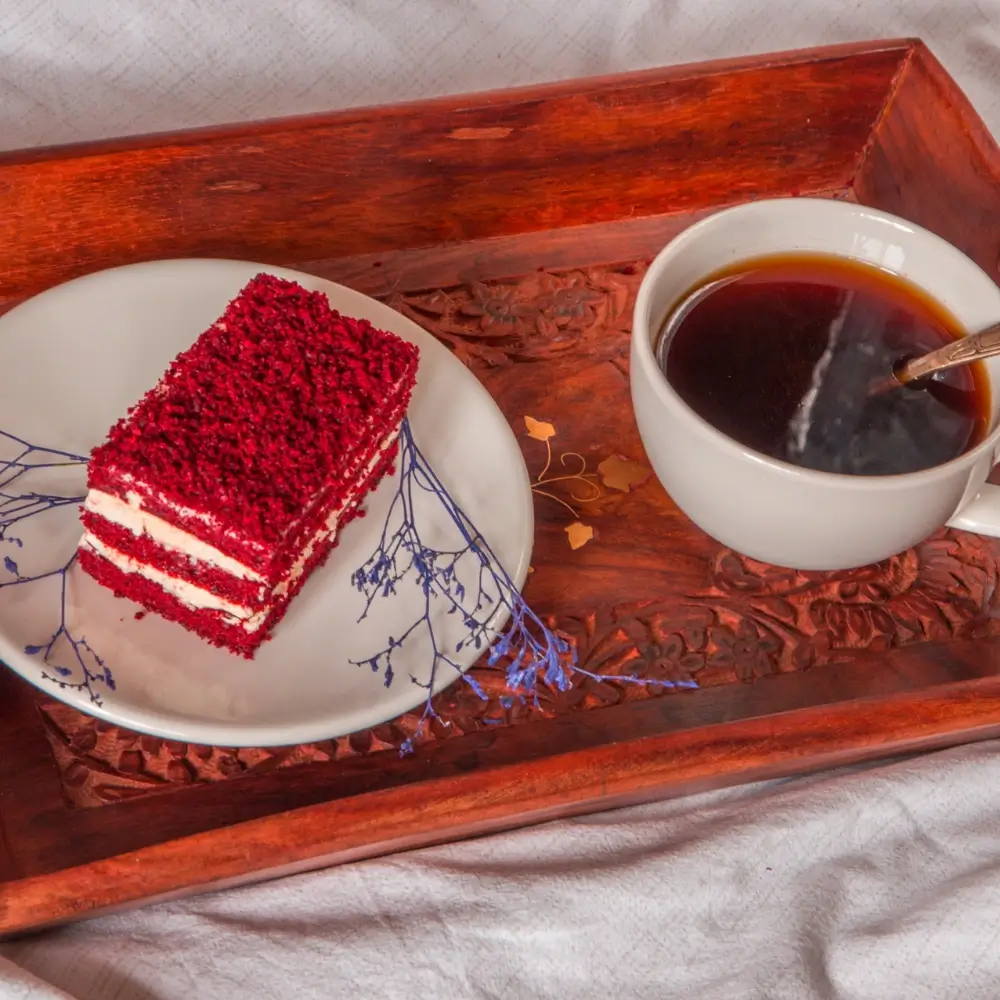
Red Velvet Cake
Red Velvet Cake is a classic dessert known for its distinctive red color and velvety texture, you can create this mouth-watering cake at home, this guide will show you how to impress your friends and family with ease.
By following this guide, you’ll learn to make a delicious homemade red velvet cake. Making a red velvet cake is straightforward. With the right ingredients and equipment, you can achieve a professional-looking cake. This guide is perfect for both beginners and experienced bakers.
Introduction
Making this cake at home is a fun and rewarding experience, you can customize it to your taste preferences and enjoy the satisfaction of creating something delicious from scratch, a homemade cake is perfect for special occasions or as a gift for your family and friends.
Key Takeaways
- You can make a delicious homemade red velvet cake with this easy-to-follow guide.
- Red velvet cake is known for its distinctive red color and velvety texture.
- Making a homemade red velvet cake is a fun and rewarding experience.
- You will need basic ingredients and equipment to make a red velvet cake.
- This guide will provide you with the necessary steps to make a perfect red velvet cake.
- A homemade red velvet cake is perfect for special occasions or as a treat for your family and friends.
Table of Contents
Understanding the recipe
When you ask what is this cake, you probably think of a classic dessert, it has a distinctive red color and a subtle cocoa flavor.
To understand this beloved cake, it is essential to explore its origin and history.
It is said to have originated in the southern United States, it was served at social gatherings and parties and the reaction between cocoa powder and sour buttermilk gives the cake its characteristic red color.
If you are looking for a perfect combination of this cake, you will find that most traditional recipes include these key ingredients. Here are some characteristics of traditional and modern red velvet cake recipes:
- Traditional recipes often use beet juice or food coloring to enhance the red color
- Modern recipes may use different types of flour, such as cake flour or all-purpose flour
- Some recipes include additional ingredients, like nuts or espresso powder, to enhance the flavor
En comprenant l’histoire et les caractéristiques de ce magnifique gâteau, vous serez mieux équipé pour créer votre propre version délicieuse. Que vous préfériez les recettes traditionnelles ou modernes, la clé est d’utiliser des ingrédients de haute qualité et de suivre une recette éprouvée.
Essential Ingredients
To make a delicious red velvet cake, you need the right ingredients. You’ll need all-purpose flour, granulated sugar, unsweetened cocoa powder, and baking powder. Also, salt, buttermilk, large eggs, and vegetable oil are key. These ingredients help create the cake’s unique flavor and texture.
When picking ingredients, choose high-quality ones. Good cocoa powder makes the cake taste richer. Fresh buttermilk adds a tangy, creamy touch.
Here are some key ingredients to focus on:
- All-purpose flour: provides structure and texture
- Granulated sugar: adds sweetness and tenderness
- Unsweetened cocoa powder: gives the cake its distinctive flavor and color
- Buttermilk: adds moisture, tenderness, and a tangy flavor
Using these ingredients and a good recipe will help you make a delicious red velvet cake. It will impress everyone.
Remember, the secret to a perfect cake is quality ingredients and a reliable recipe. With these ingredients and a little practice, you will make a stunning cake for any event.
Kitchen Equipment You’ll Need
To make a delicious homemade red velvet cake, you’ll need the right kitchen equipment. This includes a large mixing bowl, a whisk, a rubber spatula, and a 9-inch round cake pan. Having the right tools will make the process of following a red velvet cake recipe much easier and more efficient.
When making this cake, the equipment you use can affect the final result. For example, using a high-quality mixer can help ensure that the ingredients are well mixed and the cake is light and fluffy, while using a low-quality mixer can result in a dense and heavy cake.
Essential Tools
- Large mixing bowl
- Whisk
- Rubber spatula
- 9-inch round cake pan
Optional but Helpful Equipment
In addition to the essential tools, there are several pieces of equipment that can be helpful when making a homemade red velvet cake. These include a stand mixer, a food processor, and a pastry brush. These tools can help to make the process of making the cake easier and more efficient, and can also help to ensure that the final result is of high quality.
By having the right kitchen equipment, you’ll be able to make a delicious homemade red velvet cake that’s sure to impress your friends and family. Whether you’re a beginner or an experienced baker, the right equipment can make all the difference in the quality of your cake. So, if you’re looking to make a red velvet cake, be sure to invest in the right equipment and follow a trusted red velvet cake recipe.
| Equipment | Description |
|---|---|
| Large mixing bowl | Used to mix together the ingredients for the cake |
| Whisk | Used to mix together the ingredients and to incorporate air into the batter |
| Rubber spatula | Used to scrape the sides of the bowl and to fold in ingredients |
| 9-inch round cake pan | Used to bake the cake |
Preparing Your Workspace and Ingredients
To bake a tasty red velvet cake, you need to get ready first. This means preheating your oven and preparing your cake pan. Knowing what red velvet cake is helps you understand it needs exact ingredients and measurements.
Here’s how to get started:
- Preheat your oven to 350°F (180°C).
- Prepare your cake pan by greasing it with butter and flour.
- Measure out your ingredients, including flour, sugar, and cocoa powder.
By doing these steps, you’re on your way to baking a great red velvet cake. Always use the best ingredients and follow the recipe closely. With time and effort, you’ll make a cake that looks and tastes amazing.
Now, you’re all set to bake your red velvet cake. Next, we’ll look at a classic recipe for a perfect red velvet cake.
| Ingredient | Quantity |
|---|---|
| Flour | 2 cups |
| Sugar | 1 cup |
| Cocoa powder | 1/2 cup |
The Perfect Recipe
To make a delicious red velvet cake, you need a good recipe. It combines dry and wet ingredients. Dry ingredients like flour, sugar, and cocoa powder give the cake its structure and flavor. Wet ingredients like buttermilk, eggs, and oil make it moist and tender.
The cream cheese frosting is a key part of a classic red velvet cake. It’s made with cream cheese, butter, and vanilla extract. This frosting adds a tangy and creamy touch to the sweet cake. Using the right recipe is key to getting the perfect flavor and texture.
- 2 cups of all-purpose flour
- 1 cup of granulated sugar
- 2 teaspoons of cocoa powder
- 1 cup of buttermilk
- 2 large eggs
- 1/2 cup of vegetable oil
- 8 ounces of cream cheese
- 1/2 cup of unsalted butter
- 1 teaspoon of vanilla extract
By using the right ingredients and following a good recipe, you can make a moist and delicious cake. Whether you’re new to baking or experienced, a classic red velvet cake is a great choice. It’s perfect for any occasion and always impresses.
| Ingredient | Quantity |
|---|---|
| Flour | 2 cups |
| Sugar | 1 cup |
| Cocoa powder | 2 teaspoons |
| Buttermilk | 1 cup |
| Eggs | 2 large |
| Vegetable oil | 1/2 cup |
| Cream cheese | 8 ounces |
| Unsalted butter | 1/2 cup |
| Vanilla extract | 1 teaspoon |
Mixing Techniques for Optimal Texture
Getting the right texture in homemade red velvet cake is key. Mixing techniques play a big role here. To get a cake that’s light, fluffy, and tasty, you need to mix it just right. This is true whether you’re baking a cake or making red velvet cake cookies.
For the perfect texture, pay close attention to detail. Make sure your ingredients are at room temperature. Also, mix them in the correct order. This helps avoid mistakes that can ruin your cake’s texture.
Proper Ingredient Temperature
Using ingredients at the right temperature is essential. This means using room temperature butter and eggs. Cold ingredients can make your cake dense and heavy.
Mixing Order and Duration
Mixing your ingredients correctly is also important. Start with dry ingredients, then wet ingredients. After that, mix them together until just combined. Be careful not to overmix, as this can make your cake dense.
By using these mixing techniques, you can get the perfect texture for your homemade red velvet cake or cookies. Always use the right ingredients at the right temperature. Mix them in the right order. With practice, you’ll make delicious homemade red velvet cakes like a pro.
| Mixing Technique | Importance |
|---|---|
| Proper ingredient temperature | Ensures even mixing and prevents dense cake |
| Mixing order and duration | Prevents overmixing and ensures perfect texture |
Baking Your Cake
To bake a perfect red velvet cake, temperature and time are key. What makes red velvet cake special is its flavor and texture. The baking process is where it all comes together.
Preheat your oven to 350°F (175°C). Make sure your cake bakes for the right time.
Here are some tips for baking your red velvet cake:
- Use the right size of cake pan for even baking.
- Check your cake often to avoid overcooking.
- Use a toothpick to see if the cake is done.
A red velvet cake is all about the right mix of ingredients and baking time. If unsure, it’s better to check the cake often. Remember, practice makes perfect. Don’t worry if your first cake isn’t perfect.
By following these tips and understanding baking, you’ll make a delicious red velvet cake. It’s a great way to impress anyone. Whether you’re new to baking or experienced, the secret is in the details and a willingness to learn. So, try it out and enjoy your moist, flavorful cake.
| Ingredient | Quantity | Importance |
|---|---|---|
| Flour | 2 cups | Essential |
| Sugar | 1 cup | Crucial |
| Cocoa powder | 1/2 cup | Vital |
Creating the Classic Cream Cheese Frosting
To finish your red velvet cake, you need a classic cream cheese frosting. This frosting is key to the original red velvet cake recipe. It makes this cake stand out from others. Use top-notch ingredients like cream cheese, butter, and vanilla extract.
The frosting ingredients are simple, but mixing them right is important. Beat the cream cheese and butter until they’re smooth. Then, add the powdered sugar slowly. This makes the frosting just right.
Ingredients Breakdown
- 8 ounces cream cheese, softened
- 1/2 cup unsalted butter, softened
- 2 cups powdered sugar
- 1 teaspoon vanilla extract
Mixing Method
Start by beating the cream cheese and butter until smooth. Then, add the powdered sugar slowly, beating well after each addition. Finish with the vanilla extract and mix until it’s all combined.
Achieving Perfect Consistency
To get the frosting just right, don’t overbeat it. Stop when it’s all mixed up. If it’s too thin, add more powdered sugar. If it’s too thick, add a bit more cream cheese. With this frosting, your red velvet cake will be moist, flavorful, and delicious.
| Ingredient | Quantity |
|---|---|
| Cream Cheese | 8 ounces |
| Unsalted Butter | 1/2 cup |
| Powdered Sugar | 2 cups |
| Vanilla Extract | 1 teaspoon |
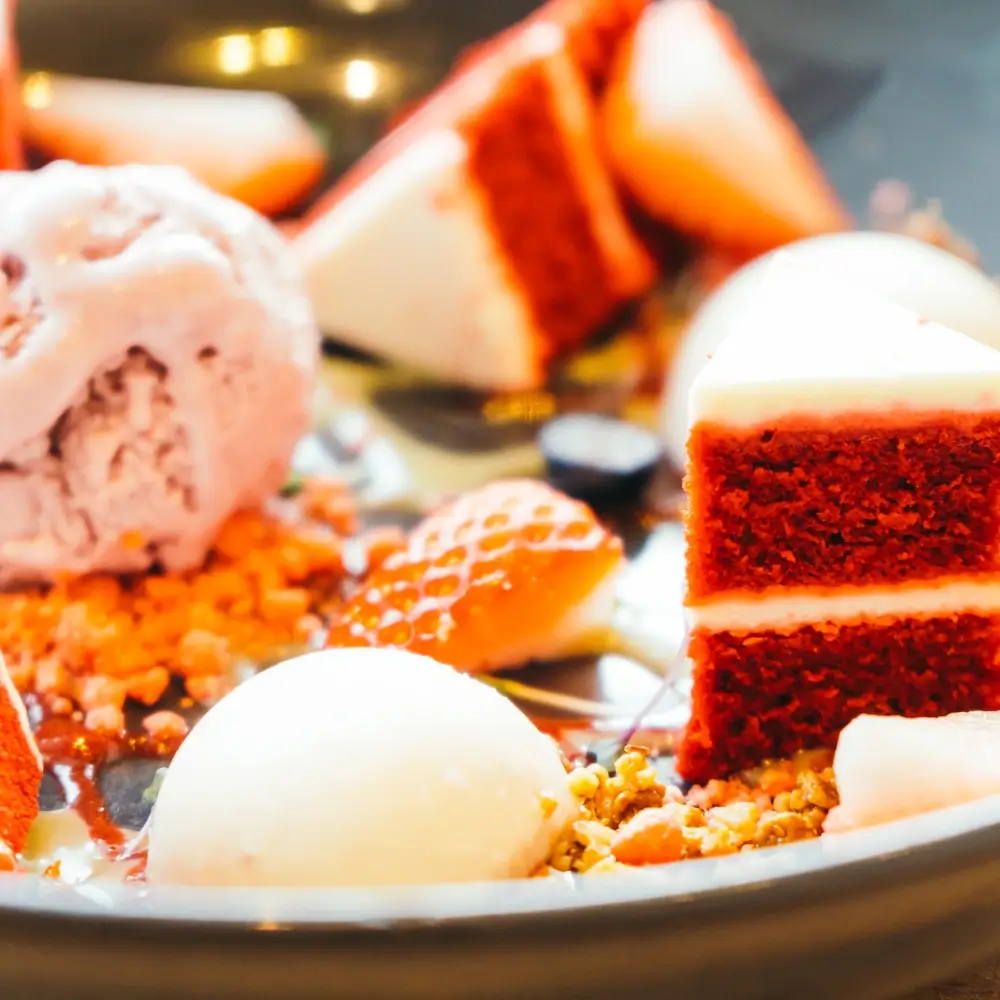
Assembly and Decoration Tips
Now that your homemade red velvet cake is baked and frosted, it’s time to assemble and decorate. This is the final step in creating a stunning dessert that will impress your friends and family.
To assemble your cake, start by placing one layer on a serving plate or cake stand. You can also use red velvet cake cookies as a base or decoration. Here are some tips to consider:
- Use a turntable to display your cake and make it easier to decorate.
- Experiment with different frosting techniques, such as piping borders or creating a smooth, even surface.
- Add decorations, such as sprinkles, chopped nuts, or edible flowers, to give your cake a personal touch.
Remember, the key to creating a beautiful homemade red velvet cake is to have fun and be creative. Don’t be afraid to try new things and make mistakes – they can often lead to new and exciting ideas.
With these assembly and decoration tips, you’ll be well on your way to creating a stunning homemade red velvet cake that will impress anyone. Whether you’re a seasoned baker or just starting out, remember to enjoy the process and have fun with it.
| Decoration Ideas | Materials Needed |
|---|---|
| Piping borders | Frosting, piping bag, tips |
| Creating a smooth surface | Frosting, offset spatula |
| Adding sprinkles or chopped nuts | Sprinkles, chopped nuts, frosting |
Common Mistakes to Avoid
Making a red velvet cake can be tricky. It’s important to know what it is and how to avoid mistakes. A red velvet cake is famous for its red color and cocoa taste. To get it right, you need to steer clear of common errors.
Mixing Issues
Mixing problems can make your cake dense or uneven. Here are some mistakes to watch out for:
- Overmixing the batter
- Not using room temperature ingredients
- Not scraping down the sides of the bowl
Baking Problems
Baking issues can ruin your cake’s quality. Make sure to:
- Use the right size pan
- Not overbake or underbake the cake
- Check the cake for doneness
Frosting Challenges
Frosting can be tricky, but there are ways to avoid problems. Here are some tips:
- Using the right type of cream cheese
- Not overmixing the frosting
- Adding the right amount of sugar
By avoiding these mistakes, you’ll make a delicious and stunning red velvet cake. It’s sure to wow everyone.
Storage and Serving Guidelines
Mastering the right red velvet cake recipe is just the start. Proper storage is key to keeping it fresh and flavorful. A well-stored cake can greatly enhance its taste and texture. Here are some tips to keep your red velvet cake fresh for longer.
To keep your cake fresh, store it in an airtight container at room temperature. This prevents moisture and other factors from affecting the cake. If you need to store it longer, refrigerate or freeze it. Refrigeration can keep it fresh for up to five days, while freezing can preserve it for months.
Proper Storage Methods
- Store the cake in an airtight container to maintain freshness
- Keep the cake at room temperature for up to three days
- Refrigerate the cake for up to five days
- Freeze the cake for longer-term storage
Shelf Life Tips
When storing your red velvet cake, following a proper recipe is essential. This ensures the cake stays fresh and flavorful. By following these guidelines, you can enjoy your homemade cake for longer. Always check the cake’s texture and flavor before serving to ensure it’s fresh and safe.
| Storage Method | Shelf Life |
|---|---|
| Room Temperature | Up to 3 days |
| Refrigeration | Up to 5 days |
| Freezing | Several months |
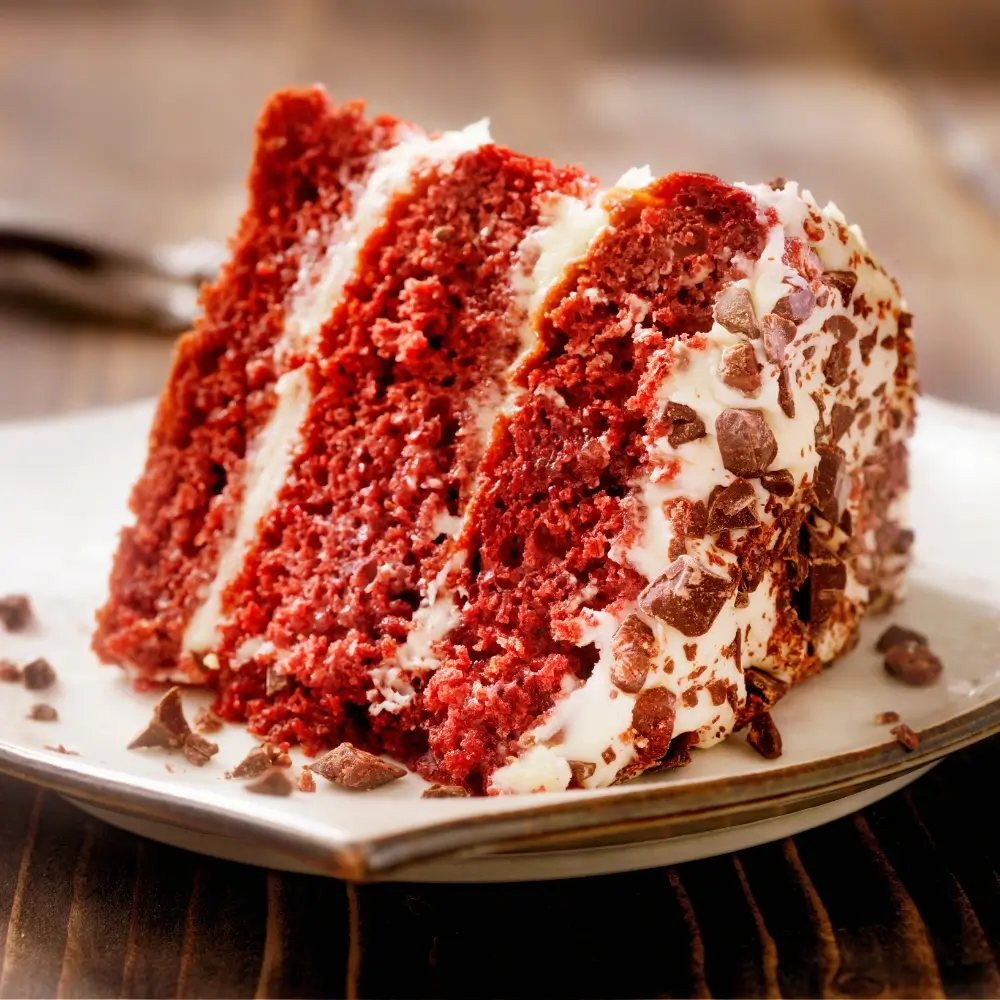
Modern Variations of Recipe
Red velvet cake doesn’t have to be traditional. You can try new flavors and ingredients to make your own version. Adding nuts like walnuts or pecans or using almond or soy milk are great ideas.
Here are a few ideas to get you started:
- Red velvet cake with cream cheese frosting and chopped nuts
- Red velvet cake with a hint of coffee or espresso
- Red velvet cake with a layer of chocolate ganache
These are just a few ways to make a red velvet cake. With creativity, you can create a unique recipe that will wow your loved ones.
Making a red velvet cake is a fun way to improve your baking skills. It’s a great project for both beginners and experienced bakers. So, why not try it and see what tasty creations you can make? With practice, you’ll soon be a pro at making homemade red velvet cake.
| Variation | Ingredients | Description |
|---|---|---|
| Red velvet cake with nuts | Chopped walnuts or pecans | A classic red velvet cake with the added crunch of nuts |
| Red velvet cake with coffee | Coffee or espresso powder | A mocha-flavored red velvet cake perfect for coffee lovers |
| Red velvet cake with chocolate ganache | Chocolate ganache frosting | A rich and decadent red velvet cake with a layer of chocolate ganache |
Troubleshooting Your Recipe
When you make a red velvet cake, you might run into some problems. We’ve got some tips to help you fix these issues. These tips work for both original and modified recipes, helping you get the perfect cake.
Common issues include texture, color, and frosting problems. To fix texture, avoid overmixing the batter. This can make the cake dense. For color, check the amount of food coloring you use. Too little or too much can change the cake’s color.
Common Troubleshooting Tips
- Check your ingredient measurements to ensure accuracy
- Don’t overbake, as this can cause the cake to dry out
- Use room temperature ingredients for a better texture
By following these tips and using a good red velvet cake recipe, you’ll make a delicious cake. Always use quality ingredients and follow the recipe closely for the best results.
Conclusion
Making a delicious cake is easier than you think. With the right ingredients and techniques, you can impress everyone. Knowing what red velvet cake is will help you make a tasty dessert.
Follow the tips in this article and try new things. Red velvet cake is loved by all ages. With practice, you’ll be a pro at making it.
By following these steps, you’ll make a great red velvet cake. So, get baking and enjoy your delicious creation!
Red Velvet Cake Recipe
Ingredients
- 250 grams All-purpose flour
- 300 grams Granulated sugar
- 50 grams Unsweetened cocoa powder
- 1 teaspoon Baking soda
- 1 teaspoon Salt
- 1 cup Vegetable oil
- 1 cup Buttermilk (room temperature)
- 2 Large eggs (room temperature)
- 2 tablespoons Red food coloring
- 1 teaspoon Vanilla extract
- 1 teaspoon White vinegar
- 225 grams Cream cheese (softened) For the Cream Cheese Frosting
- 115 grams Unsalted butter (softened) For the Cream Cheese Frosting
- 300 grams Powdered sugar For the Cream Cheese Frosting
- 1 teaspoon Vanilla extract For the Cream Cheese Frosting
Instructions
- Preheat Your Oven and Grease the Cake Pans: Begin by preheating your oven to 175°C (350°F). This ensures that the oven reaches the right temperature before you place your cake pans inside. While the oven is heating, prepare your two 9-inch round cake pans by greasing them with butter or non-stick spray. If you want to ensure the cakes come out easily after baking, you can also line the bottoms of the pans with parchment paper. This step prevents the cake from sticking to the pan, ensuring a smooth release when it’s time to turn them out.
- Mix the Dry Ingredients: In a large mixing bowl, combine your dry ingredients: all-purpose flour, unsweetened cocoa powder, baking soda, and salt. Use a whisk or spoon to mix them together thoroughly. This ensures that the cocoa powder is evenly distributed, and that the baking soda and salt are well incorporated into the flour. This step is important because it helps the cake rise evenly while ensuring no clumps of cocoa or baking soda in the batter.
- Cream Together Sugar and Butter: In another mixing bowl, place the granulated sugar and softened butter. Use an electric mixer (or a whisk if you prefer) to beat them together until the mixture becomes light, fluffy, and pale in color. This process is called “creaming,” and it helps to incorporate air into the batter, which results in a light and tender cake texture. Be sure to scrape down the sides of the bowl occasionally to make sure all the butter and sugar are properly mixed.
- Add the Eggs, Buttermilk, Oil, Food Coloring, and Vanilla: Next, add the eggs one at a time, beating well after each addition. This ensures the eggs are fully incorporated into the butter and sugar mixture. After adding the eggs, mix in the buttermilk, vegetable oil, red food coloring, and vanilla extract. The buttermilk and oil contribute to the cake’s moist texture, while the food coloring gives the cake its signature red hue. Continue to mix the ingredients until they are well combined.
- Combine the Wet and Dry Ingredients: Gradually add the dry ingredients to the wet mixture, a little at a time, mixing gently after each addition. Use a spatula or a spoon to stir the batter, being careful not to overmix. Overmixing can result in a dense cake. Once the dry ingredients are fully incorporated and the batter is smooth, stop mixing. You want the cake batter to be just combined, with no visible streaks of flour or cocoa powder.
- Divide the Batter Between the Pans: Now it’s time to divide the batter between the two prepared 9-inch round cake pans. Use a spatula to spread the batter evenly in each pan, making sure that the surface is level. This will help the cakes bake evenly. If you’re unsure, you can use a kitchen scale to ensure that the batter is divided equally between the pans.
- Bake the Cake: Place the pans in the preheated oven and bake for 25-30 minutes. The exact baking time may vary depending on your oven, so start checking the cakes around 25 minutes. To test if the cakes are done, insert a toothpick into the center of each cake. If it comes out clean or with only a few crumbs attached, the cakes are ready. If the toothpick comes out with wet batter, continue baking for a few more minutes.
- Cool the Cakes: Once the cakes are done, remove them from the oven and let them cool in the pans for about 10 minutes. This allows the cakes to set and makes it easier to remove them from the pans without breaking. After 10 minutes, run a knife around the edges of the pans to loosen the cakes. Then, carefully transfer the cakes onto a cooling rack to cool completely. Allow the cakes to cool for at least 30 minutes before frosting. This step is crucial to prevent the frosting from melting when applied to the warm cake.
FAQ:
What is a red velvet cake made of?
A Red Velvet Cake is made of flour, sugar, eggs, oil or butter, cocoa powder, buttermilk, and vinegar, with red food coloring for its signature color. Cream cheese frosting is a common pairing for this moist cake.
What is the flavor of red velvet cake?
Red Velvet Cake has a unique flavor that combines mild cocoa notes with a tangy taste from the buttermilk and vinegar. It’s slightly sweet with a velvety texture that sets it apart.
Is red velvet cake just chocolate cake but red?
Although red velvet cake contains cocoa powder, it’s not just a chocolate cake. The key difference is that red velvet cake has a distinctive tangy flavor from the buttermilk and vinegar, which sets it apart. Its bright red color and smooth cream cheese frosting also contribute to its unique identity, making it much more than just a chocolate cake.
What’s the healthiest cake to eat?
While all cakes are indulgent, a healthier option could be one made with whole grain flour, less sugar, and healthier fats. However, red velvet cake, like many desserts, should be enjoyed in moderation. If you’re looking for a lighter version, consider using a reduced-fat cream cheese frosting or replacing some ingredients for healthier alternatives while still maintaining the essence of red velvet cake.
What causes red velvet cake?
The red color in Red Velvet Cake comes from a combination of cocoa powder, vinegar, and buttermilk reacting together, though modern recipes often use food coloring to enhance the red hue.
Is red velvet cake halal?
A Red Velvet Cake can be halal if all ingredients, including food coloring and flavorings, meet halal standards. Always check the source of the ingredients to ensure compliance.